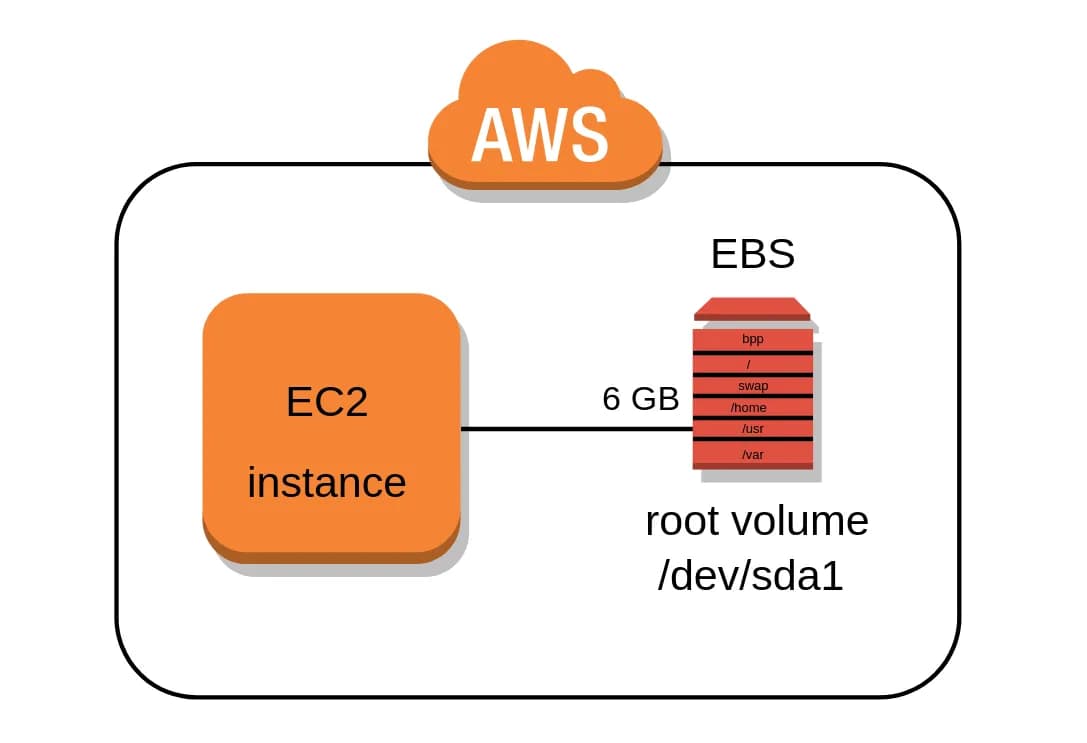
Expanding the disk size of an EC2 instance's Elastic Block Store (EBS) volume is a crucial task that allows you to accommodate increasing storage requirements without disrupting your instance. This step-by-step guide will help you navigate the process while ensuring data safety.
Prerequisites
Before proceeding with this tutorial, ensure you have:
- An AWS account with access to the EC2 service.
- Basic familiarity with AWS Console and command-line interface (CLI).
- Backup of critical data to prevent data loss.
Step 1: Identify the EBS Volume
- Log in to the AWS Management Console.
- Navigate to the EC2 Dashboard.
Step 2: Stop the Instance (Optional but Recommended)
For safety reasons, consider stopping the EC2 instance associated with the EBS volume before proceeding. This prevents potential data corruption during disk resizing.
Step 3: Modify the EBS Volume
- In the EC2 Dashboard, click on "Volumes" under the "Elastic Block Store" section.
- Locate the EBS volume you want to resize.
- Right-click on the volume and select "Modify Volume."
- Adjust the size as needed to accommodate your storage requirements.
- Confirm the modification.
Step 4: SSH into Your EC2 Instance
- If you've stopped the instance, start it again.
- Connect to your EC2 instance using SSH.
Step 5: List Block Devices
- Run the following command to list available block devices:
lsblk - Identify the device name and partition number of your EBS volume (e.g.,
/dev/xvda1).
Step 6: Extend the Partition
- Use the
growpartcommand to extend the partition size. Replace/dev/xvdawith your device name and1with the partition number:sudo growpart /dev/xvda 1
Step 7: Verify Partition Expansion
- Run
lsblkagain to verify that the partition size has been extended.
Step 8: Resize the File System
- Depending on your file system type:
- For ext2, ext3, or ext4, use:
sudo resize2fs /dev/xvda1 - For XFS, use:
sudo xfs_growfs /
- For ext2, ext3, or ext4, use:
Step 9: Reboot and Verify
- If you stopped the instance earlier, start it again.
- SSH back into the instance.
- Use the
df -hcommand to confirm the disk size has increased:df -h
Conclusion
You've successfully expanded the disk size of your EC2 instance's EBS volume. By following these steps, you can effectively manage storage growth while maintaining data integrity. Remember to exercise caution and follow best practices to prevent potential issues.
